How do you create sites in SharePoint? This is a question that has perplexed many HR and IT managers alike. Creating SharePoint sites can be a challenging task, but with the right guidance, it is achievable.
Using this guide, you'll be able to craft custom SharePoint sites with ease by leveraging Microsoft PowerShell, a tool that enables users to create their sites.
We'll also explore the differences between modern and classic templates, along with customizing web parts and layouts for optimal user experience. Additionally, we’ll cover immersive reader tools and how to incorporate news features into your site.
Last but not least, we'll discuss managing subsite creation and how hub sites can serve as an alternative solution for grouping related content.
Ready to unravel the mysteries of SharePoint site creation? Let’s dive in.
Creating Sites in SharePoint: A Step-by-Step Guide for HR and IT Managers
Creating sites in SharePoint is an essential skill for HR and IT managers to facilitate seamless collaboration among team members. In this guide, we'll explore two main methods of site creation - using Microsoft PowerShell and allowing users to create their own through the admin center.
Planning Your SharePoint Site
Before creating your SharePoint site, it's important to plan it effectively. Here are some tips:
- Identify goals and objectives.
- Determine user roles and permissions.
- Outline the desired structure, such as subsites or hub sites.
- Decide between classic or modern templates.
- Consider customization options, such as web parts and layouts.
- Establish governance policies.
- Ensure proper security measures are implemented.
Using Microsoft PowerShell for Site Creation
If you're a Global Administrator or SharePoint Administrator, you can use Microsoft PowerShell to create new sites with ease. This powerful scripting tool enables admins to automate various tasks related to site management. It is perfect if you have multiple sites to manage.
Allowing Users to Create Their Own SharePoint Sites
You can also empower your users by giving them the ability to create their sites via the SharePoint Admin Center. To do so, simply enable self-service site creation from within the settings menu, but make sure they have proper permissions first.
With this basic knowledge, you can create SharePoint sites and help your team members collaborate effortlessly in their new digital workspace. There are different templates and settings you can try out within SharePoint. Keep honing your skills by exploring the options available to create the right SharePoint site for your team.
Modern vs Classic Templates: Choosing the Right Fit for Your SharePoint Site
When creating a new site in SharePoint, you'll encounter two types of templates - modern and classic. This begs the question, “Which templates should you explore when trying to create a site for your company?
We’ve analyzed both so that you don’t have to spend hours trying to figure it out. Between the two types of templates, modern templates win hands down and we highly recommend that you consider using any of the modern options when building your own SharePoint site. You’ll find that modern templates offer a sleek design, improved performance, and mobile-friendly layouts. They're also easier to customize with web parts and other features.
Still, if you want to go the classic template route, that’s okay. In the next section, we’ve outlined the steps to take when using a classic template to set up a SharePoint site.
Steps for Setting Up a Site with a Classic Template
If you absolutely must use the classic template, follow these steps:
- Navigate to the Microsoft 365 Admin Center or SharePoint Admin Center
- Select "Create," then choose "Classic Site"
- Pick from available site collections or create your own
- Add necessary details like title and URL
- Select desired permissions settings; and finally
- Create your classic masterpiece.
A word of caution though: Classic templates may not receive the same level of support and updates as their modern counterparts. So, choose wisely.
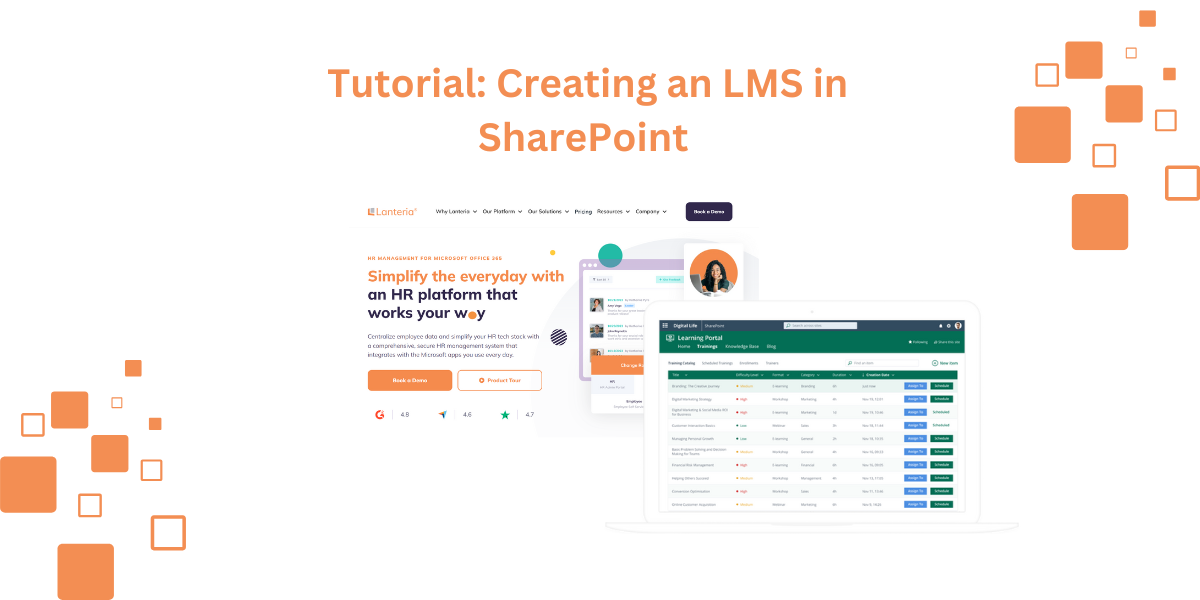
Want to learn more about SharePoint site creation? Take advantage of the extensive library of support materials and training options available on the Lanteria HR website and YouTube pages
Customizing Web Parts and Layouts
Let's talk customization.
When creating your SharePoint site, you'll want to personalize it with web parts. Web parts are the building blocks of your page and they are the go-to tools to transform a bland site into an engaging space for collaboration.
To make your site more appealing, make your headlines pop using catchy copy. Consider adding images or text above the titles to give context and pizzazz to each section of your site. This simple trick can help your users quickly grasp what your page is about while adding visual interest.
Next, choose the best layout to present your organization’s information to your audience. SharePoint offers 4 different layouts and we’ll talk about them in the next section.
Four Different Layouts Offered by SharePoint
SharePoint offers four different layout options, allowing you to tailor each section according to its purpose and content type.
- The One Column layout: A classic choice that works well for straightforward content presentation.
- The Two Columns layout: Ideal for comparing data side-by-side or presenting complementary information.
- The Three Columns layout: Great when showcasing multiple items in parallel without overwhelming readers.
- The One-third Left Column layout: Perfect for highlighting key points or call-to-actions in the left column while providing supporting details on the right.
Pick and choose layouts that best suit your content, and watch as your SharePoint site transforms into a visually appealing hub of information.
Learn more about customizing web parts with this tutorial.
Using Immersive Reader Tools in SharePoint
Another helpful feature of SharePoint in creating sites is the Immersive Reader tools. These handy features help your audience focus on content without any visual distractions. The immersive Reader tool is a fantastic tool that can be incorporated into your site design with ease. Let’s look at the tools that make up this feature in more detail below.
Expand Mode: A Clutter-Free Reading Experience
The Expand mode eliminates unnecessary elements from view when sharing links alongside thumbnail previews and descriptions. This allows readers to easily consume information presented on pages throughout various devices and platforms. The great thing about this tool is that it’s seamlessly integrated within organization settings and workflow processes alike.
Thumbnail Previews: Adding Visual Appeal
Speaking of thumbnails, they're not just eye candy. You can add optional messages or descriptions to these previews to further engage your readers' experience while browsing through your SharePoint site content.
Adapting to Different Devices: Seamless Reading on the Go
Immersive Reader tools are designed with flexibility in mind, making it easy for users to consume content on various devices and platforms without any hiccups. This means that whether they're using a desktop computer or a mobile device, your audience will have an enjoyable reading experience every time.
Give Immersive Reader tools a try and watch as your SharePoint site becomes even more engaging and accessible for everyone involved.
How to Easily Integrate Immersive Reader As Part of Your Workflow
There’s no need for complicated setups here. To incorporate the Immersive Reader feature into your site design, simply follow these tutorials provided by Microsoft. By implementing the steps, you’ll easily improve the usability and convenience of your SharePoint site.
Integrating News Features into Your Site
Keeping your staff informed and motivated is essential for success, and what better way to do that than by including news features on your SharePoint page?
In this section, we'll explore how you can seamlessly integrate these features to keep everyone looped in with the latest updates.
Use Personalized Feeds & Notifications
The first feature that can help you achieve this is personalized feeds.
SharePoint's news feature allows you to curate relevant stories tailored for each user through personalized feeds displayed on start pages or mobile devices.
For your site users, this means no more sifting through irrelevant information - just the content that matters most to each individual.
Outline Organization News Sources
Next up on our list of News features is organization news sources.
You can empower admins to specify which sources should be included in the organization's news feed, ensuring only trustworthy and pertinent content makes it onto your site.
Create Engaging News Posts
The last News feature we’ll talk about here is creating engaging posts.
To add a new post, simply click + New, type the article, then select "Post". Each article should have its thumbnail, title, and description as this makes it easy for readers to find exactly what they're looking for.
Actionable Tips for News Integration
Now that you have a better understanding of SharePoint's news features, let's explore some actionable tips to make the most out of them:
- Tip #1: Keep your content fresh and up-to-date by regularly adding new posts.
- Tip #2: Encourage team members to share their updates, increasing collaboration and engagement.
- Tip #3: Use eye-catching images and compelling headlines to grab readers' attention.
By integrating these news features into your SharePoint site, you'll keep everyone in the loop with relevant stories while growing a sense of community among team members.
If you need more guidance on creating sites in SharePoint, check out this additional resource from Microsoft.
Site Creation: Hub Sites vs. Subsites
Deciding between creating hub sites and subsites is a crucial decision that you’ll have to make as a SharePoint admin.
As an admin, you can determine if users have the authority to generate their own SharePoint sites or not.
You also have the power to enable or disable subsite creation across classic sites.
However, if your goal is to be able to use OneDrive and have seamless integration within the organization’s sites, hub sites are your best option.
Enabling or Disabling Subsite Creation
To enable or disable subsite creation in SharePoint Online Admin Center:
- Navigate to Microsoft 365 admin center.
- Select 'SharePoint' under 'Admin centers' from the left-hand menu.
- In the Active Sites page that opens up next, click on Settings (gear icon), then choose Site Settings> Manage Site Features (under Site Actions).
- Enable/disable "Subsite Creation" as needed by clicking the Activate/Deactivate button beside it.
Creating a Subsite in SharePoint
To create a subsite within an existing SharePoint site:
- Navigate to the parent site's homepage.
- Click on the gear icon and choose "Site Contents."
- Click "+New" and select "Subsite."
- Fill out necessary details like title, URL suffix, and template selection before clicking "Create."
Benefits of Using Hub Sites for Organizing Related Content
Rather than relying on subsites, you can group similar topics and content using hub sites. By leveraging hub sites, you can revolutionize your organization's content management strategy.
How, you ask?
Hub sites offer a more effective alternative for organizing related content and encouraging collaboration among teams.
You can associate multiple team and communication sites to a single hub site. This creates an interconnected network of SharePoint sites that share common navigation and branding elements.
With hub sites, you can connect them with other existing or new SharePoint sites and make them more accessible.
In conclusion, creating sites in SharePoint is an important aspect of any HR or IT manager's job. With these tools and techniques, you can optimize communication within your organization and increase your employee’s efficiency and output.
If you're looking for a comprehensive HR management solution that integrates seamlessly with SharePoint and allows you to customize it for your organization’s needs, check out Lanteria HR today!